To help novice users with configuration of CMS - we provide package called QuickStart.
A quickstart is basically a fully functional and customized Joomla! package containing the default Joomla installation package, all modules,
choosen template and plugins with all the configurations and data in one place. The sample data in the quickstart package is also personalised according
to the template and is much different to the sample data found in the default Joomla package.
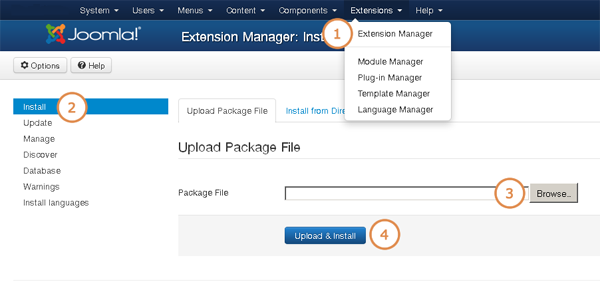
The quickstart package cannot be installed via Joomla Extensions manager.
Unzip the downloaded template package 'unzip_me_first_vxxx.xxxxxxxxxxxx.002xxx.zip'
Unzip the quickstart package.

Upload the content of the package on your server into the directory where your Joomla should be installed.
Run the URL based on the Kickstart file and location. For example: https://your_domain_name.com/kickstart.php.
You will see a warning screen labeled "Things you should know about Akeeba Kickstart."
Make sure that the quickstart package is in the same folder as the kickstart.php file. Please make sure to read through the warnings.
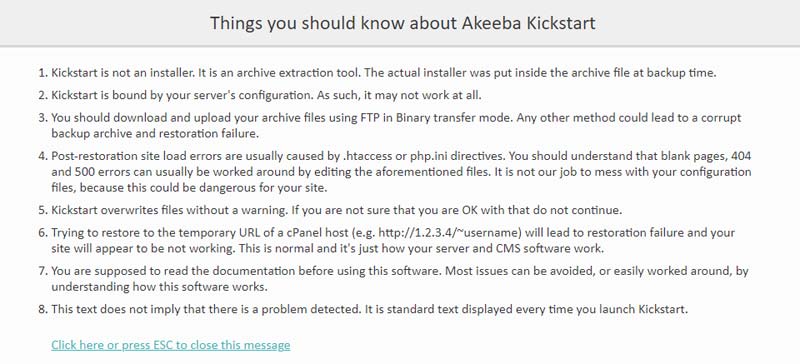
Click on ESC or the link to close the message.
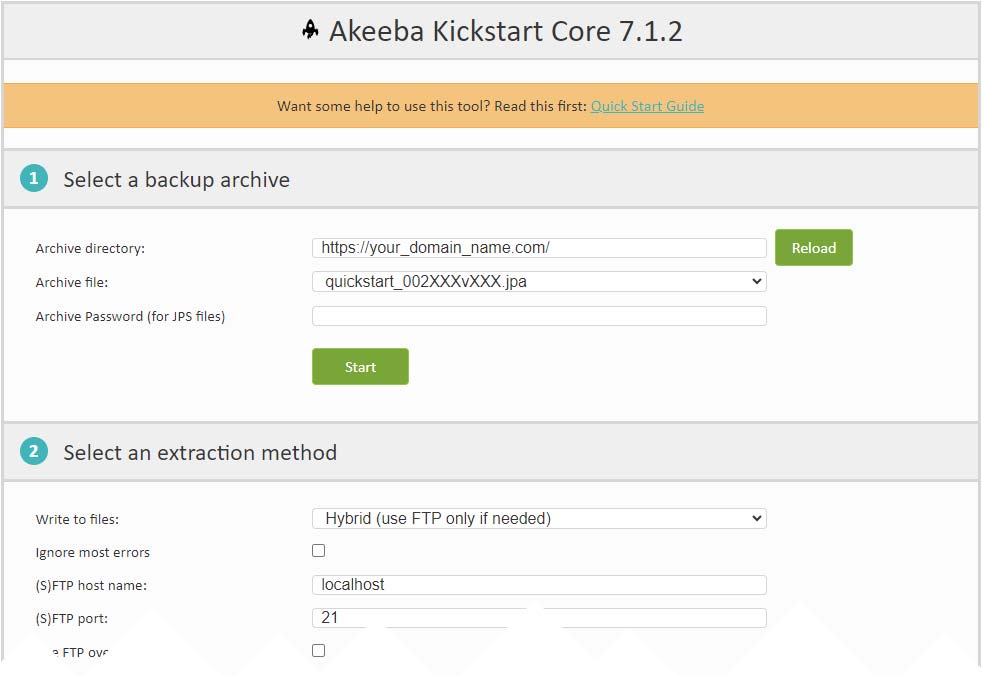
Check Archive file field, it should be selected 'quickstart_002XXXvXXX.jpa' archive file. Leave the other options as default. If you have auto-fill data, just remove them. Then, click 'Start' to extract the archive file.
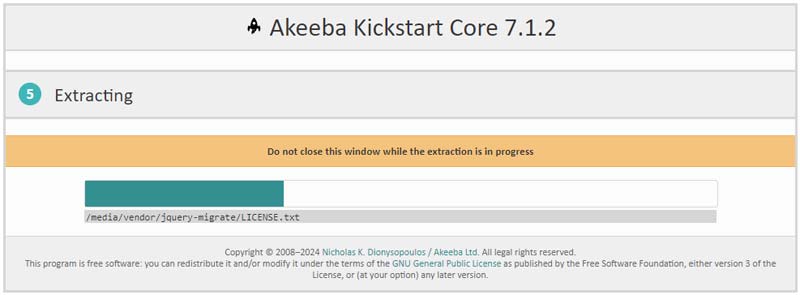
In this step we will see the screenshot below. Wait untill extracting not finished, it takes few minutes.
Simply click on the Run the Installer button.

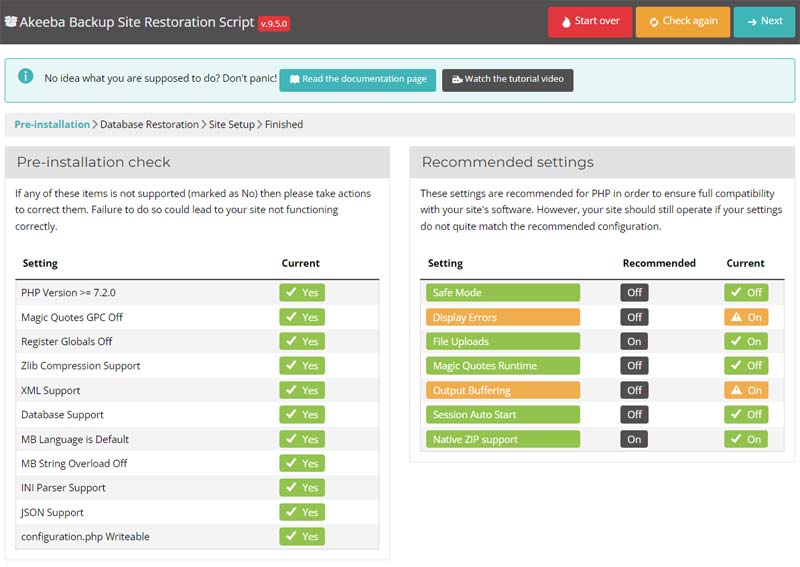
Pre-installation check running before you start the restoration. Once you review all of the settings here, click on the blue button that labeled NEXT.
* In some cases, if you have a different PHP version, you will get a warning message above, but don't worry, it's fine!
The next step is the database restoration phase. You will see all of the setting for the database that you can change here.
Make sure these setting match with your current restore. If you're restoring an Akeeba database from a different host, then you need to double-check
the name conventions used by the host for their databases. You might need to change them.
Note: From Advanced options, please check to two options
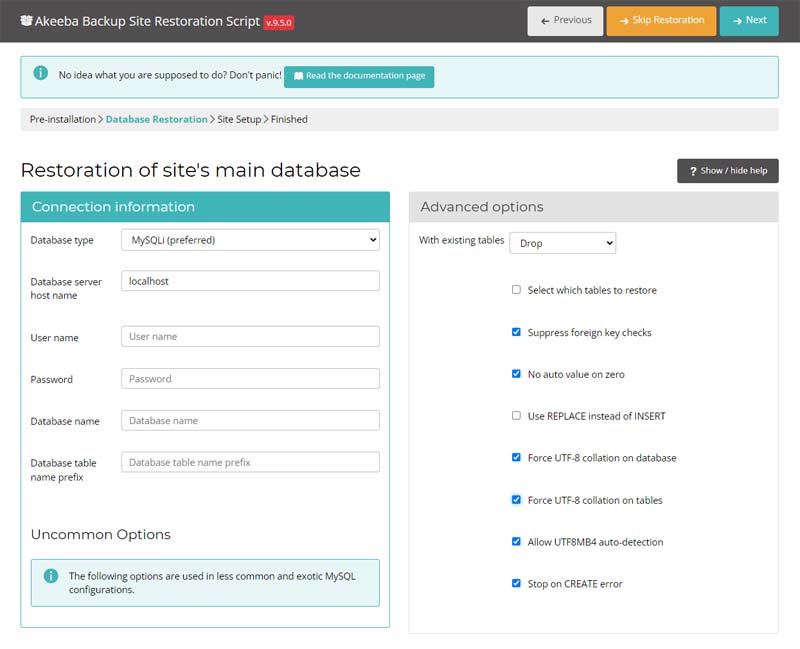
Once you have reviewed your DB settings, click on NEXT in order to proceed.
When the database restoration is complete, you will see a confirmation of this. Click on the green button labeled NEXT STEP.

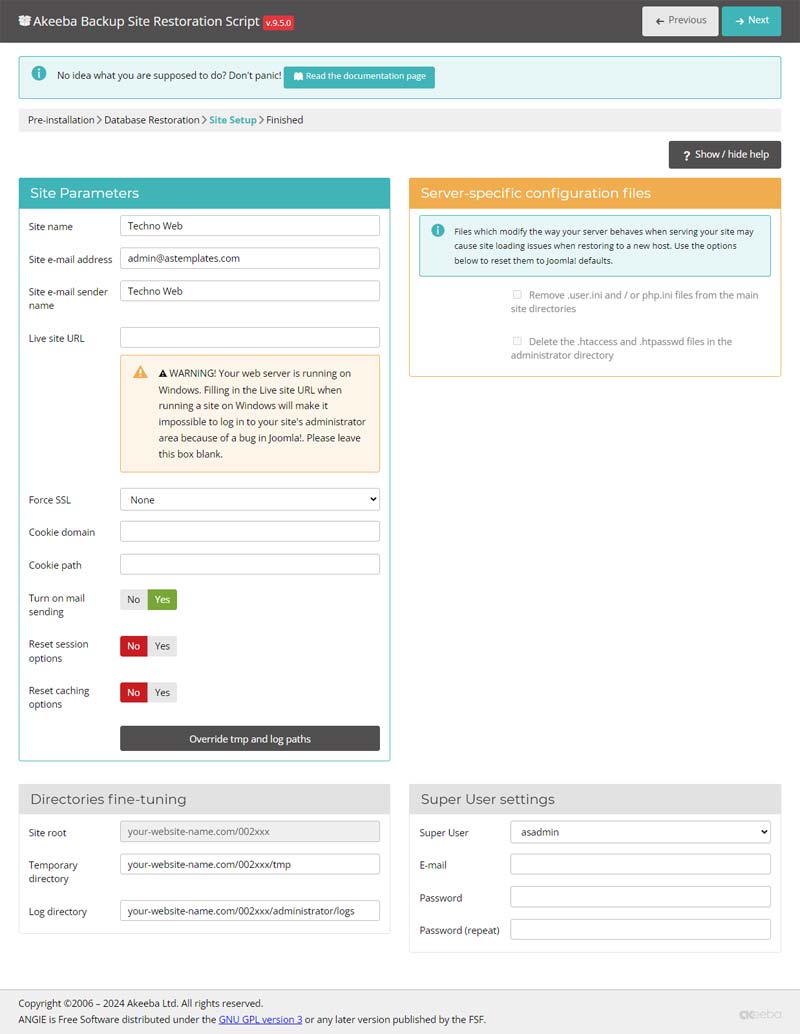
This step requires you to enter Site Info. You need to make sure that your user name, password and other site settings are setup the way you want them. This section is where you would change the directory settings if they are different from the quick-start package. Click on the NEXT button to continue.
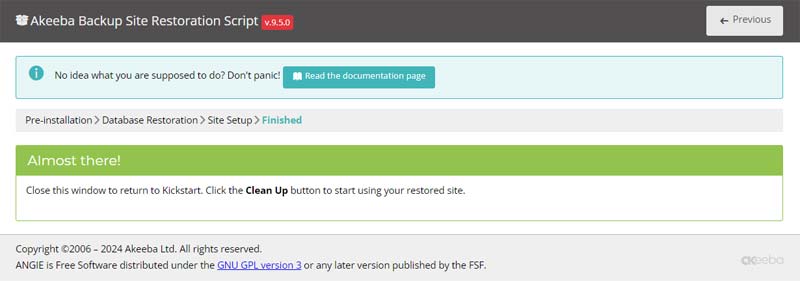
This is the last step to process install quick-start, just click to button 'Clean Up' to clear up Kickstart files which are included in the quick-start package. It will make your source clear.
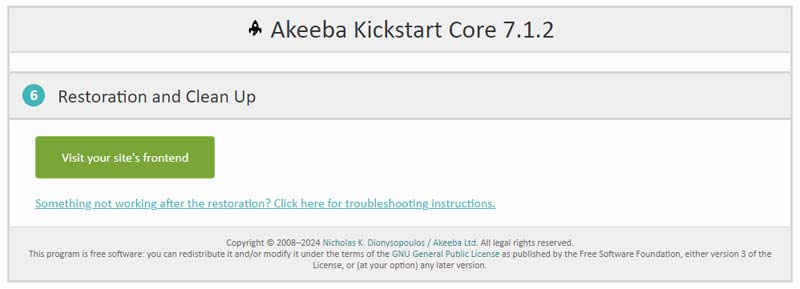
Just click 'Visit your site's frontend' button to preview your website.

Get an access to all 94 items designed and developed by AS Designing team plus all the future items
which will be released over the course of your club subscription.
Price starting from $59.00
I purchased the new version of this template to upgrade a J3 up to J5. The template would not install using the Joomla installer so I just uploaded the zip of the base template and extracted it over the old. Of course, now all the customizations are gone and the original people that customized this are long gone. How should I have upgraded this template? Also, where are any custom CSS items and logo images, etc. placed? I am used to having a custom.css file on most Joomla sites. ...